


 |
| Demo Work |
 |
| Me and the Finished Demo |
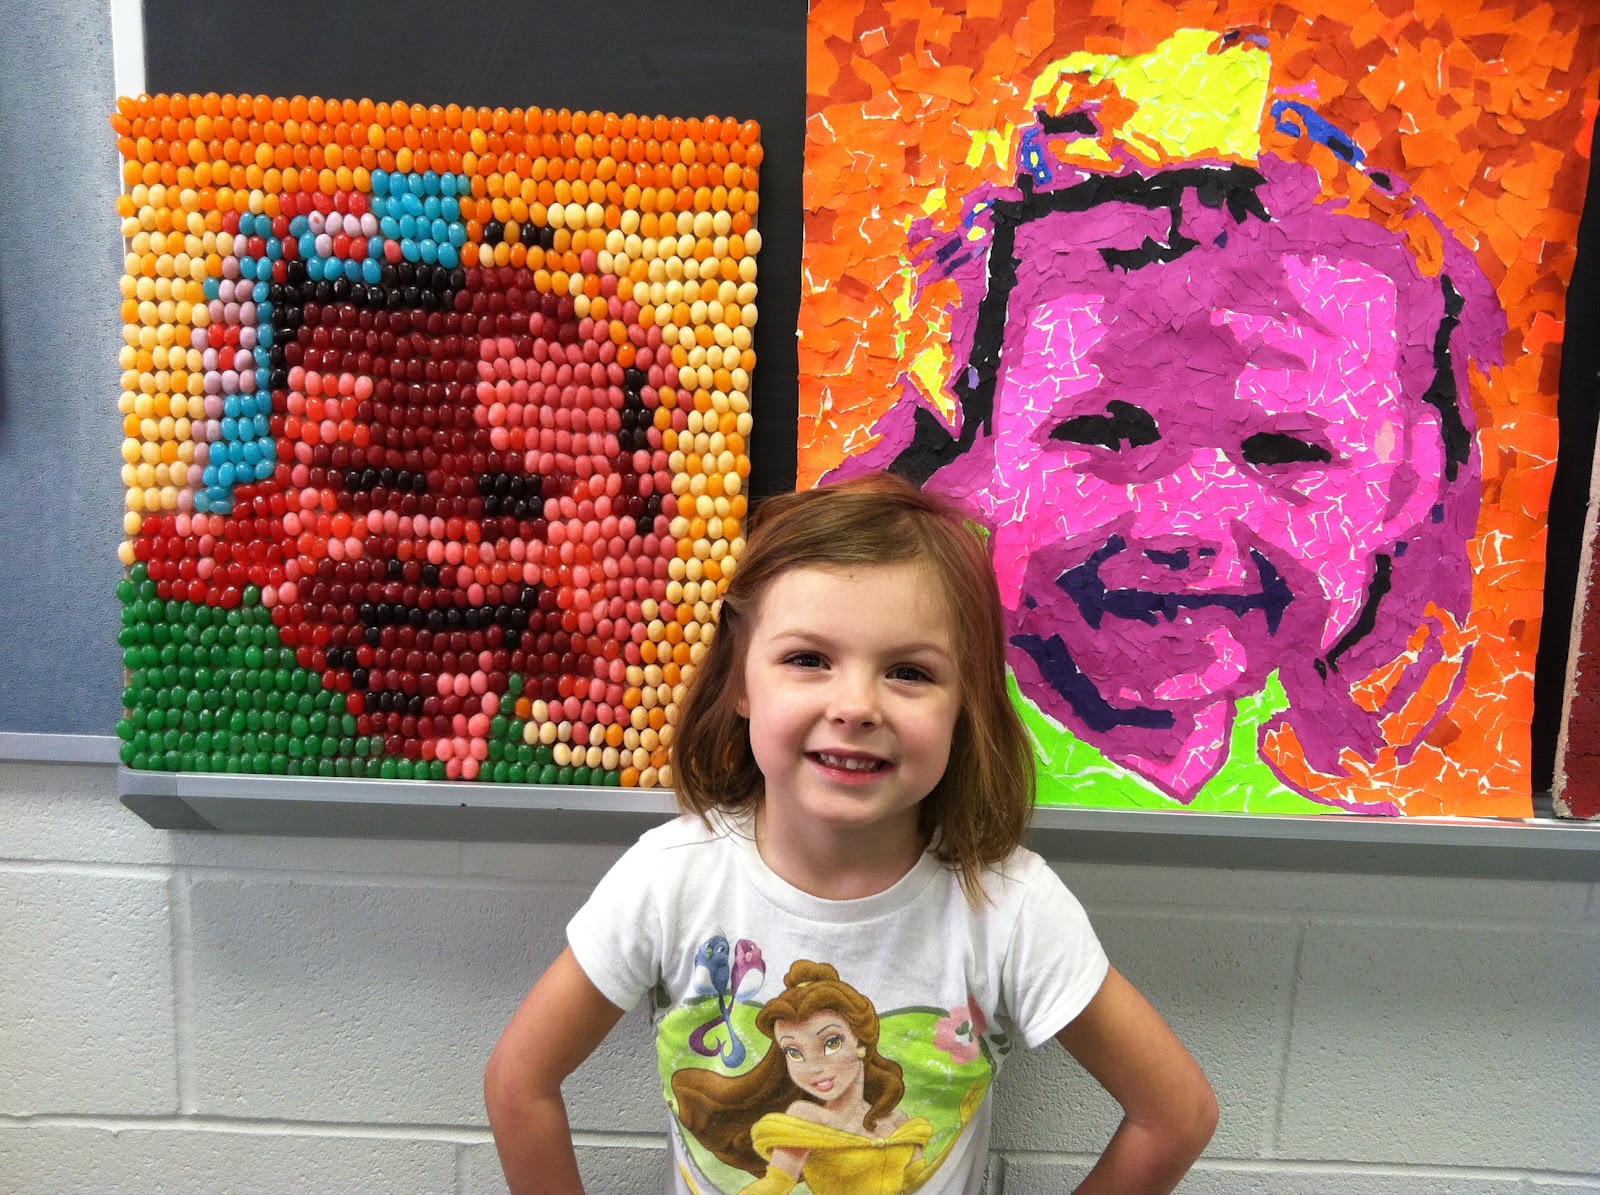 |
| My Daughter between the Candy one and paper one. |
Project
|
Requirements
|
Point Value
|
Due Date
| |
Academic Practice
|
Brought in Four Images
|
Brought in four magazine or computer printout Images
|
30
|
Feb. 13th
|
Drawing of Box and detail drawings on Chosen Designs
|
Practice drawings that fill up one page in sketchbook.
|
30
|
Feb. 16th
| |
Sides of Box Sized and drawn out on large paper
|
Draw out sides of box on white paper and then transfer to tar paper for slab construction
|
30
|
Feb. 21st
| |
Academic Achievement
|
Slab constructed Box
|
Use slabs to construct box. All side should be straight and connections should be crafted well and look finished.
|
50
|
Feb. 24th
|
Lipped Lid
|
Lid must have a lip.
|
30
|
Feb. 28th
| |
Applied Celtic Acrylic Paint Resist and washed
|
Celtic Design must be painted on with two coats of Acrylic Paint. Once it is dry, wash a shallow layer of unpainted clay to show resist. Tools can be used to intensify resist.
|
30
|
Mar. 13th
| |
Glaze Washed Finish (After it has been once bisque fired.)
|
Layer and wash Glaze off with a Damp Sponge
|
40
|
TBA
|


Project
|
Requirements
|
Point Value
|
Due Date
| |
Academic Practice
|
Three Small Popcorn Sketched
|
Practice shaded drawings that fill up one page in sketchbook.
|
30
|
April 17th
|
Large Measured Popcorn Drawing
|
Practice shaded drawings that fill up one page in sketchbook.
|
30
|
April 18th
| |
Academic Achievement
|
Construct Popcorn
|
Use clay construction techniques learned in prior projects problem solve how to build the popcorn.
|
50
|
April 27th
|
Painted Popcorn
|
Popcorn should be painted to look like popcorn. The color can be altered but should have different values and hues to resemble the different shades on whites and yellows of real popcorn.
|
30
|
TBA
|


