Thursday, May 3, 2012

Ceramic Celtic Boxes with Acrylic Paint Relief

Handout:

Celtic Boxes

3D Art 1

PROJECT INTRODUCTION:

For this project you will be creating a box with Celtic designs. You are required to draw out your design from the side and the top.  Your boxes must measure at least 5 inches and no larger than 12 inches.  You must first research Celtic designs and Celtic box designs.  You are required to bring in two of each that you are going to incorporate into your designs.  After you drawing are approved you will create them out of clay. 

You will create your box with even and flat sides.  Your lid must have a lipped lid.  You are allowed to add knobbed side and/or top handle(s), but you are now required to do so.  You are then going to let the project dry to bone dry and then paint on Celtic Designs with two coats of Acrylic paint.  After paint dries you will wash away non-painted clay with a damp sponge.  You can use the clay tools to intensify the resist.

Your project with then be fired.  The paint will be bunt off in the kiln.  You are required to then layer under glaze and remove parts of it with a damp sponge to intensify the resist.

PROJECT EXPECTATIONS:


Project
Requirements
Point Value
Due Date
Academic Practice
Brought in Four Images
Brought in four magazine or computer printout Images
30
Feb. 13th
Drawing of Box and detail drawings on Chosen Designs
Practice drawings that fill up one page in sketchbook.
30
Feb. 16th  
Sides of Box Sized and drawn out on large paper
Draw out sides of box on white paper and then transfer to tar paper for slab construction
30
Feb. 21st 
Academic Achievement
Slab constructed Box
Use slabs to construct box.  All side should be straight and connections should be crafted well and look finished.
50
Feb. 24th  
Lipped Lid
Lid must have a lip.
30
Feb. 28th
Applied Celtic Acrylic Paint Resist and washed
Celtic Design must be painted on with two coats of Acrylic Paint.  Once it is dry, wash a shallow layer of unpainted clay to show resist.  Tools can be used to intensify resist.
30
Mar. 13th
Glaze Washed Finish (After it has been once bisque fired.)
Layer and wash Glaze off with a Damp Sponge
40
TBA


Four Images and Drawings Due:  Thursday Feb. 16th

Box to be Constructed with Lid by: Tuesday Feb. 28th  

Project to be Glazed by:  TBA

Class Critique (20 Points):  TBA


It that students were most successful with smaller boxes .


Wednesday, May 2, 2012

Clay Popcorn

For this project students made enlarged popcorn from clay.  We are just starting to paint them.

Enlarged Popcorn

3D Art 1

PROJECT INTRODUCTION:

For this project you will be creating an enlarged piece of popcorn. You will learn about Claes Oldenburg. You are first required to draw out your design from the side, angled top to side, and the bottom.  Second you are required to draw a full page piece of popcorn with measurements wrote on next to it.  Your popcorn must measure at least 5 inches and no larger than 7 inches.   You must decide the best way to construct it (slab, coils, or pinch pots).


Your project with then be fired.  The paint will be bunt off in the kiln.  You are required to then layer under glaze and remove parts of it with a damp sponge to intensify the resist.    

PROJECT EXPECTATIONS:

Project
Requirements
Point Value
Due Date
Academic Practice
Three Small Popcorn Sketched
Practice shaded drawings that fill up one page in sketchbook.
30
April 17th
Large Measured Popcorn Drawing
Practice shaded drawings that fill up one page in sketchbook.
30
April 18th 
Academic Achievement
Construct Popcorn
Use clay construction techniques learned in prior projects problem solve how to build the popcorn.
50
April 27th 
Painted Popcorn
Popcorn should be painted to look like popcorn.  The color can be altered but should have different values and hues to resemble the different shades on whites and yellows of real popcorn.
30
TBA


Popcorn to be Constructed by: Friday Feb. 27th  

Project to be Painted by:  TBA

Class Critique (20 Points):  TBA


Friday, April 13, 2012

MC Escher Inspired Printmaking


MC Escher Printmaking

Printmaking

PROJECT INTRODUCTION:

Students will design their own triangular tessellation and use it to print make.  The students will include images of nature in their tessellated triangle.  Student will study the designs of MC Escher.  Students will carve the design into Easy-cut.  They will print large patterned works and cut and collage other works. 
                                                                                                                          
PROJECT EXPECTATIONS:

Project
Requirements
Point Value
Due Date
Academic Practice
Brought in three Images
Brought in three magazine or computer printout Images
30
Jan. 9th
Practice drawings
Practice drawings that fill up one page in sketchbook.
30
Jan. 17th
Academic Achievement
Paper Tessellated Triangle
Tessellated Triangle made with paper with Images Drawn on
25
Jan. 19th
Easy-Cut Tessellated Triangle
Tessellated Triangle with Images cut into Easy-cut
25
Jan. 24th
Black Repetitive print on white large white Paper
Fill large provide paper with Tessellated Pattern.  Alignment and craftsmanship is important.
25
Jan. 27th
Black Repetitive print on white large white Paper and colored with Color Pencils
Fill large provide paper with Tessellated Pattern.  After print has dried color with color pencil.  Alignment and craftsmanship is important.
25
Feb. 10th
Multiple color prints on multiple colored paper collage
Fill large provide paper with Tessellated Triangles printed with different colored inks on different colored paper. Cut and paste to for a collage of the different prints that are puzzled together. Alignment and craftsmanship is important.
25
Feb. 10th

Brought in images, practice drawings, paper Tessellated Triangle, and Easy-Cut Tessellated Triangle must be approved before you should move onto the next step.

Excellent craftsmanship is crucial to keeping your triangle tessellated and your prints clean.  Keep crisp edges!!


Sketchbook Assignments are due at the start of class.

Critique and Project Due: February 17th
One Student's Collection


Critique: Student to discuss personal strengths and weakness:WORTH 20 Points

Friday, February 10, 2012

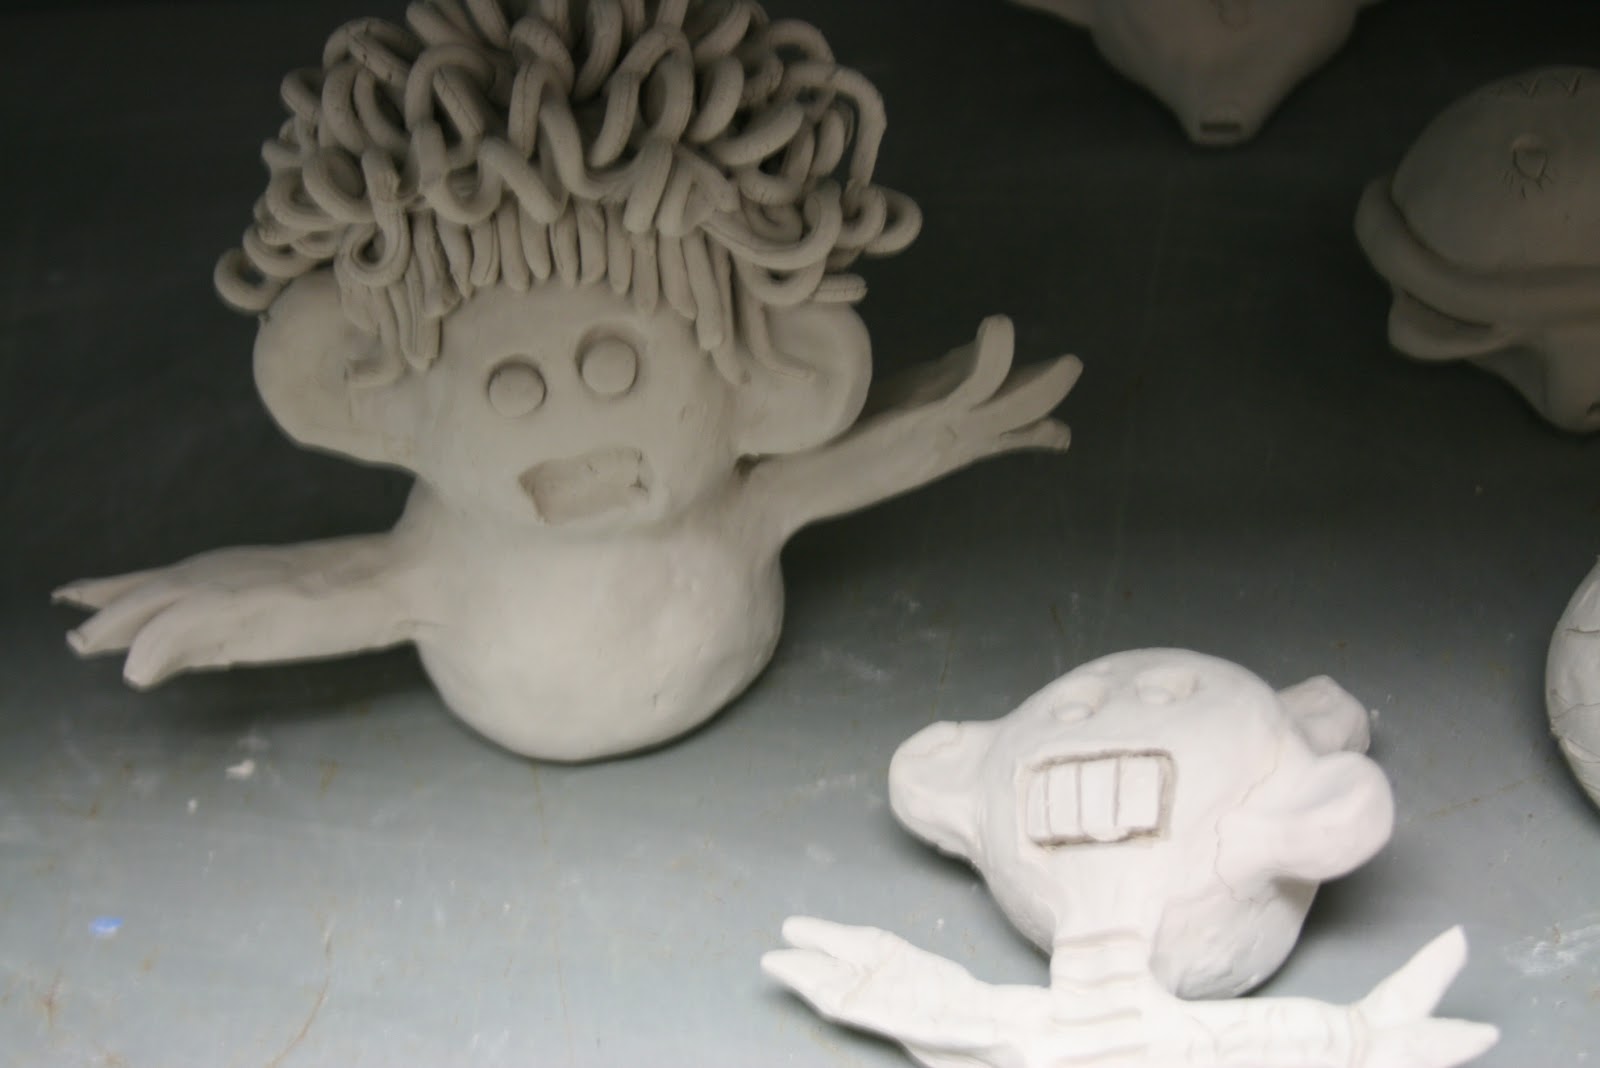
Kindergartners Monsters Go 3D Whistles by the High Schoolers


Work in Process


Kindergartners at our elementary school supplied us with the Monster drawings and the high school 3D At One Student created them into whistles.